Custom email footer
You can set a workspace-wide custom email footer which you can template into every email using the
{{${email_footer}}}Liquid attribute.
By using custom email footers, you no longer have to create a new footer for every email template or email campaign you use. Changes you make to your custom footer will be reflected in all new and existing email campaigns. Remember that compliance with the CAN-SPAM Act of 2003 requires you to include a physical address for your company and an unsubscribe link in your emails.
It is your responsibility to make sure that your custom footer meets the aforementioned requirements.
Creating your custom footer
To create or edit your custom footer, do the following:
- Go to Settings > Email Preferences.
If you are using the older navigation, this page is called Email Settings and is located under Manage Settings.
- Go to the Custom Footer section and turn on custom footers.
- Edit your footer in the Compose section and send a test message.
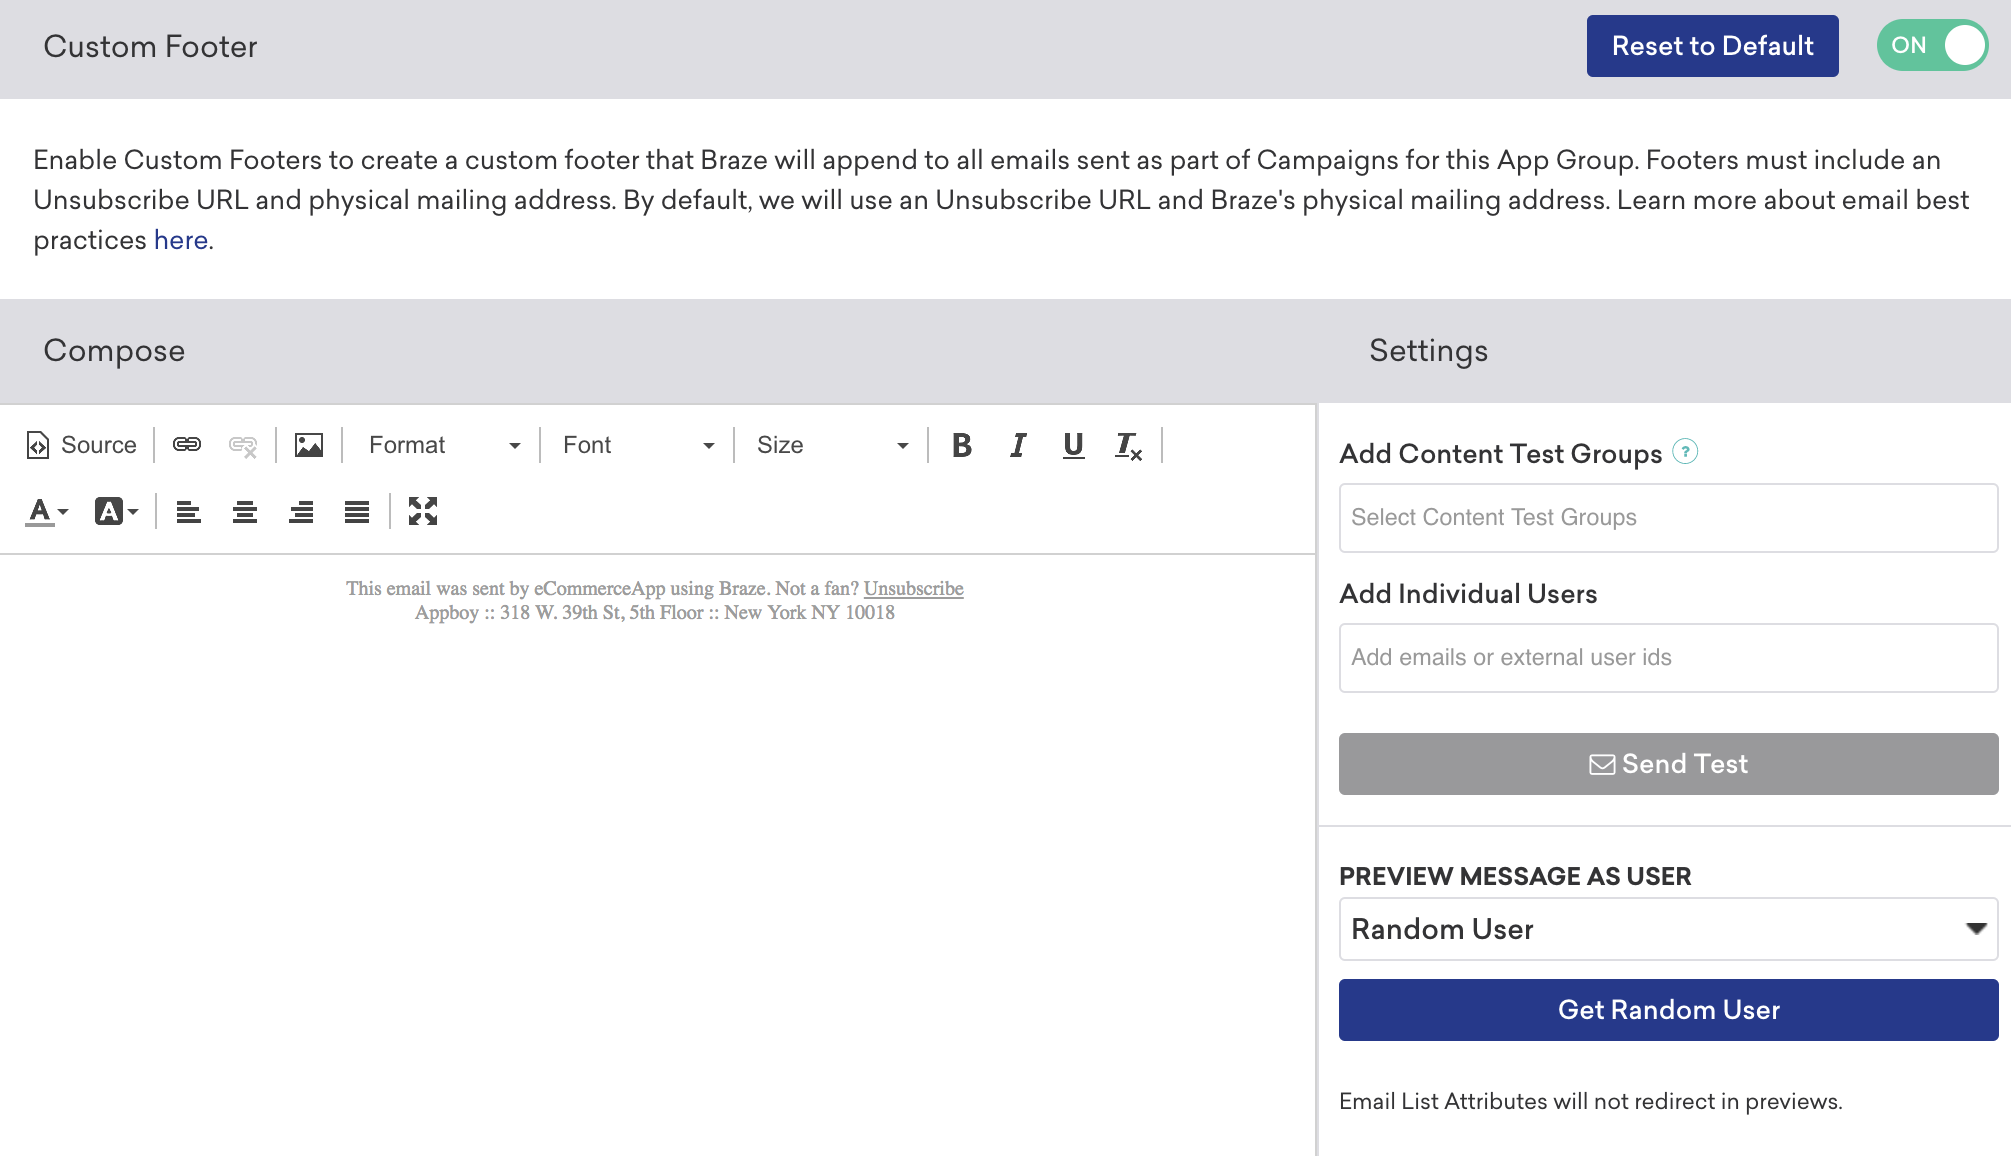
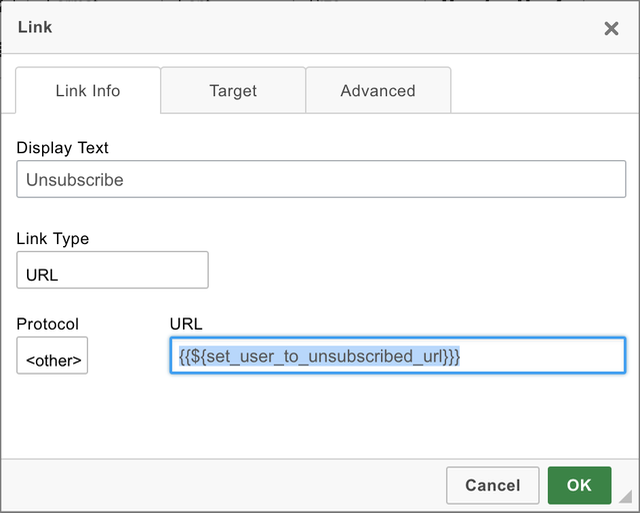
The default footer uses the {{${set_user_to_unsubscribed_url}}} attribute and our physical mailing address. To comply with CAN-SPAM regulations, your custom footer must include {{${set_user_to_unsubscribed_url}}}. You won’t be able to save a custom footer without this attribute.
If using the default footer, which uses the {{${set_user_to_unsubscribed_url}}} attribute, be sure to select <other> for the Protocol.
Footers without unsubscribe links
Be very careful when using a template with the custom footer {{${email_footer}}} but without the {{${set_user_to_unsubscribed_url}}} unsubscribe link tag. A warning will appear, but it’ll be your choice to send an email with or without an unsubscribe link.
Warning within email composer: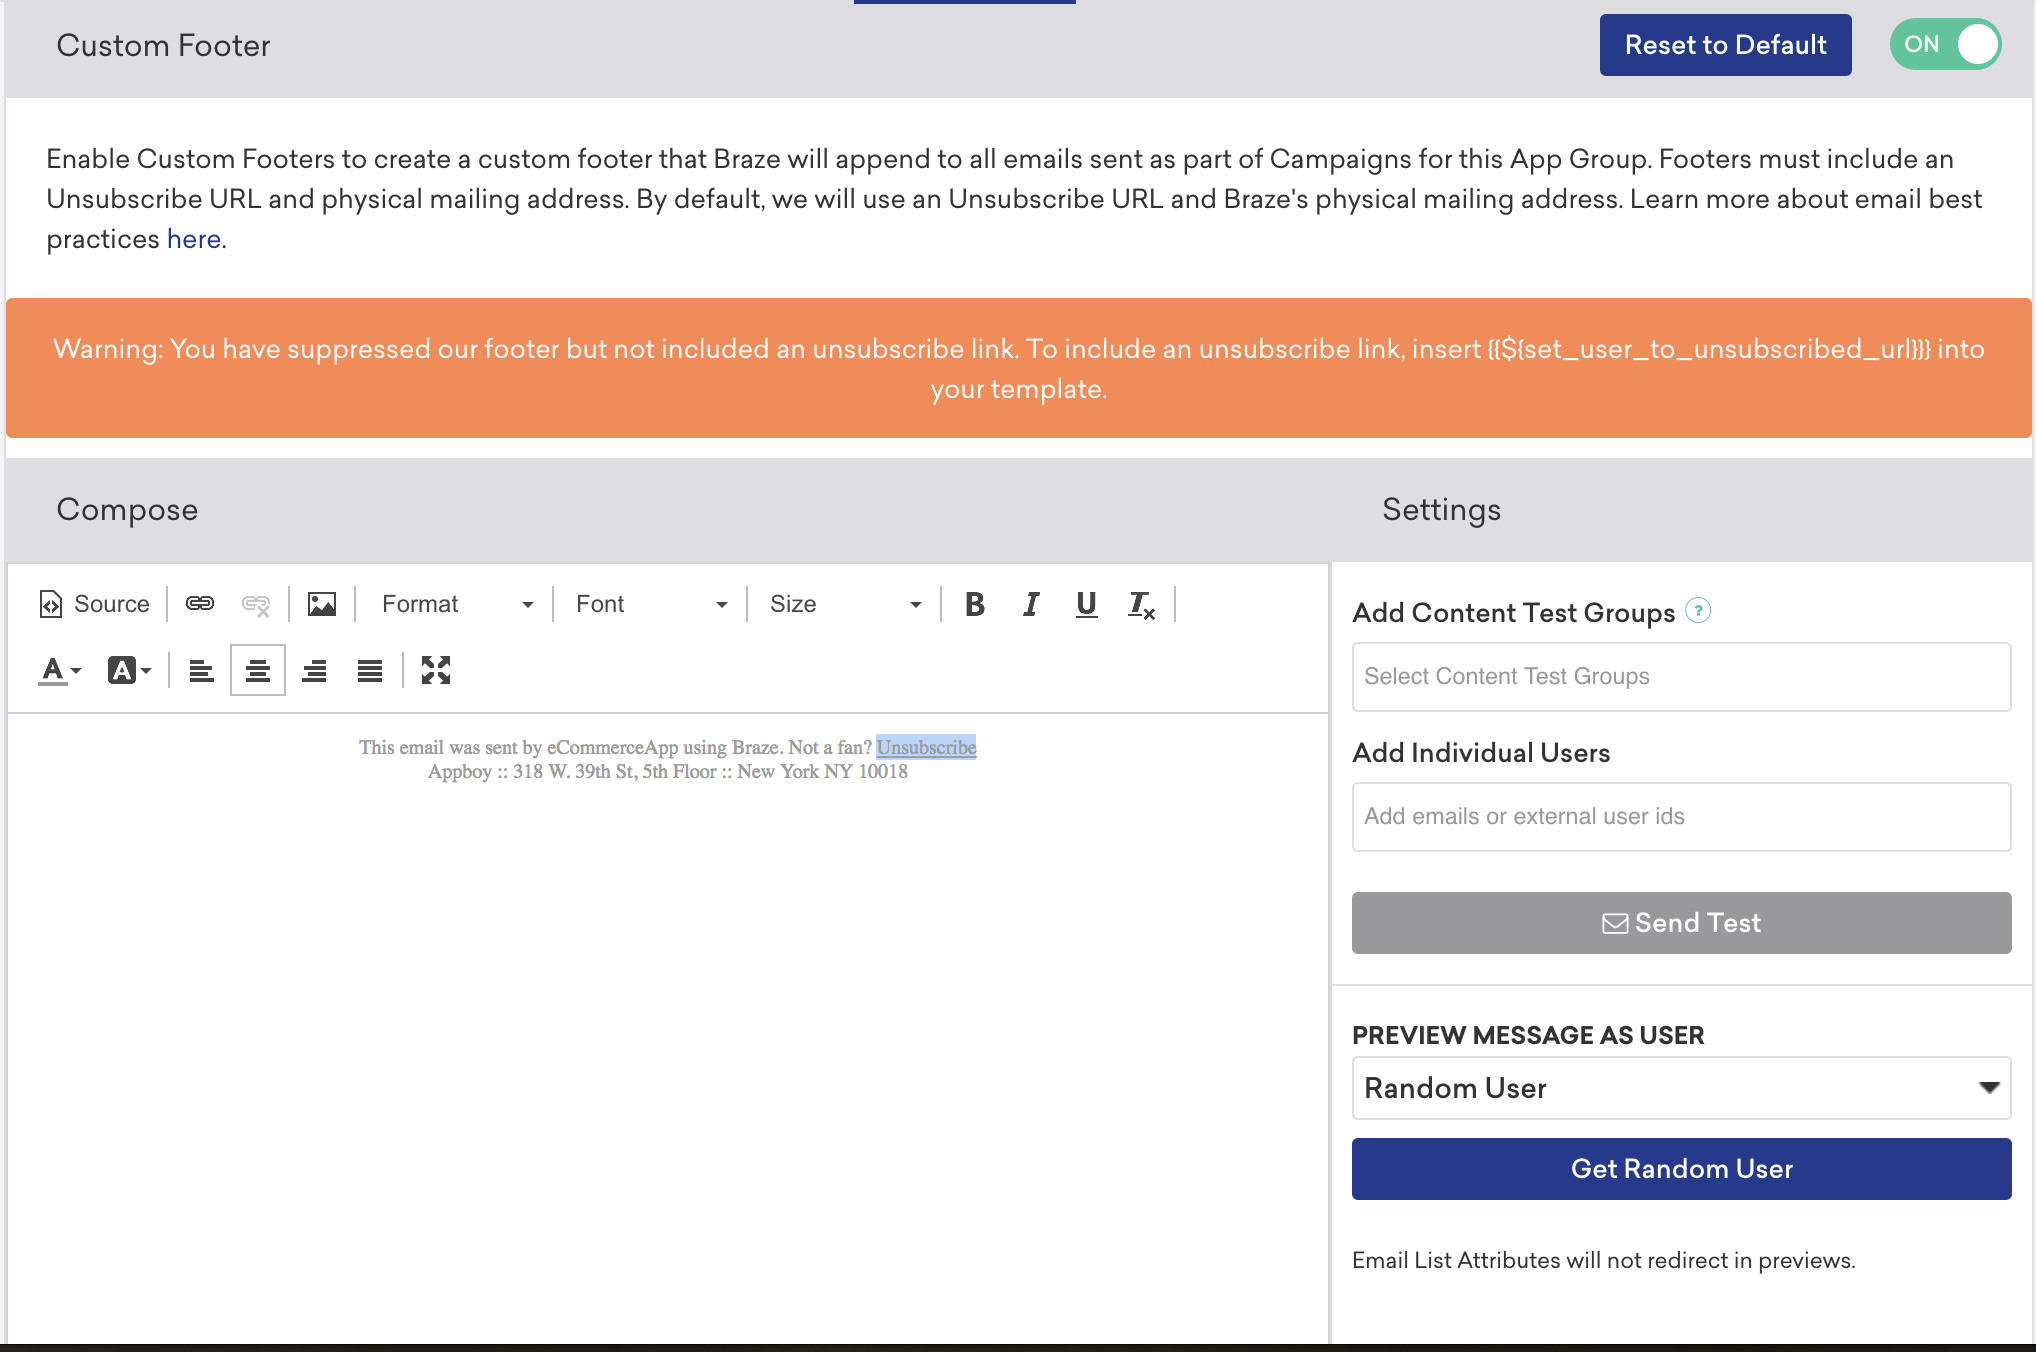
Warning within campaign composer: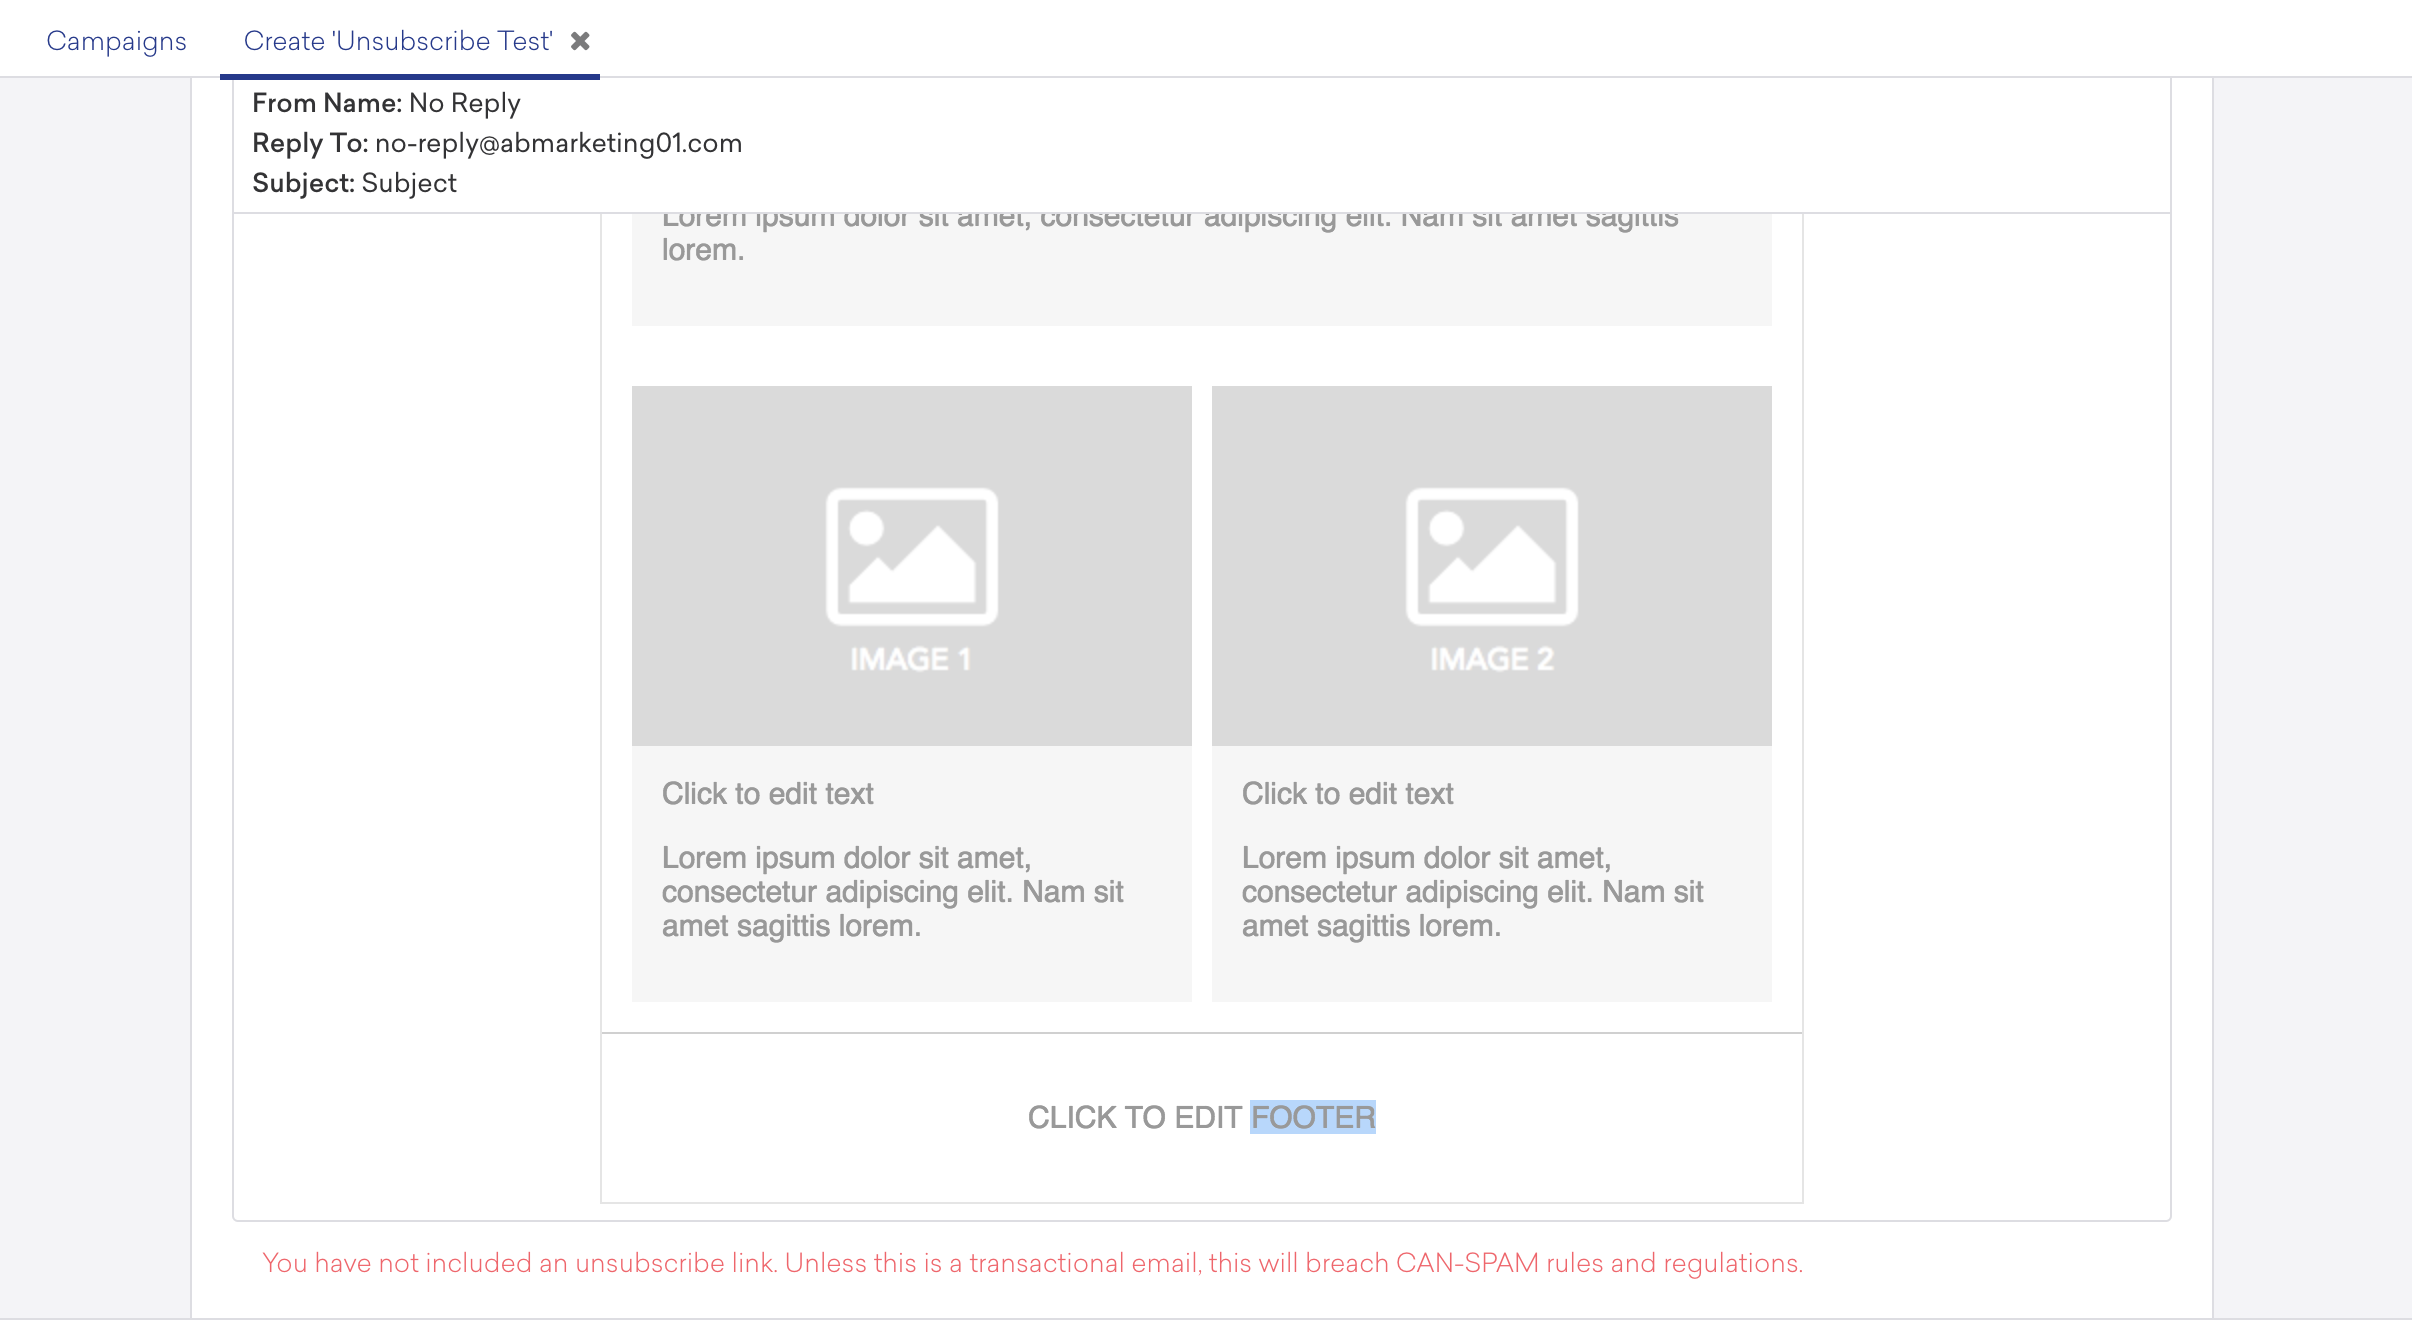
Best practices
Braze suggests the following best practices when creating and using custom footers.
Personalizing with attributes
When creating a custom footer, Braze suggests using attributes for personalization. The full set of default and custom attributes are available, but here are a few you may find useful:
| Attribute | Tag |
|---|---|
| User’s Email Address | {{${email_address}}} |
| User’s Custom Unsubscribe URL | {{${set_user_to_unsubscribed_url}}} This tag replaces the previous {{${unsubscribe_url}}} tag. We recommend that you use the newer {{${set_user_to_unsubscribed_url}}} tag instead. |
| User’s Custom Opt-In URL | {{${set_user_to_opted_in_url}}} |
| User’s Custom Subscribe URL | {{${set_user_to_subscribed_url}}} |
| User’s Custom Braze Preference Center URL | {{${preference_center_url}}} |
Including an unsubscribe link and opt-in link
As a best practice, Braze recommends including both an unsubscribe link (such as {{${set_user_to_unsubscribed_url}}}) and an opt-in link (such as {{${set_user_to_opted_in_url}}}) in your custom footer. This way, users will be able to both unsubscribe or opt-in, and you can passively collect opt-in data for a portion of your users.
Setting custom footers for plaintext emails
You can also choose to set a custom footer for plaintext emails from the Subscription Pages and Footers tab on the Email Preferences page, which follows the same rules as the custom footer for HTML emails. If you don’t include a plaintext footer, Braze will automatically build one from the HTML footer. When your custom footers are to your liking, click Save at the bottom of the page.

 Edit this page on GitHub